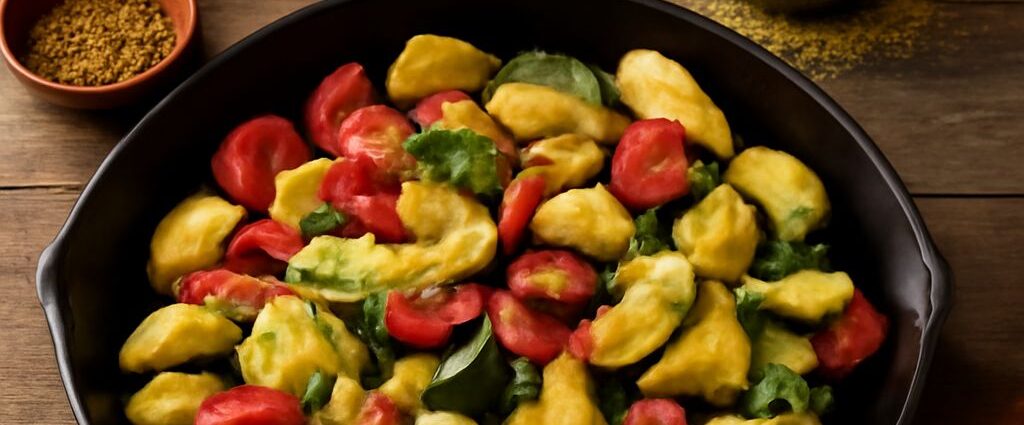
Sautéed zucchini and yellow squash should cook fast, brown lightly, and stay tender, not watery. The key is a hot skillet, dry squash, and a small enough batch that the vegetables sear instead of steam.
This method makes 4 side-dish servings. It works well for sauteed zucchini and squash, sauteed squash and zucchini, or sauteed zucchini and yellow squash when you want a simple stovetop vegetable that keeps its shape.
Prepare the Zucchini and Yellow Squash
Use 2 medium zucchini and 2 medium yellow squash, about 1 1/2 pounds total. Choose firm squash with smooth skin and no soft spots. Smaller squash usually have better texture and fewer seeds.
Wash and dry them well. Trim the ends, then cut each squash into half-moons about 1/4-inch thick. Keep the slices similar in size so they brown evenly. If you prefer a fuller vegetable bite, cut them into 1/2-inch thick half-moons, but add a minute or two to the cook time.
To reduce moisture, spread the slices on a towel or paper towels and pat them dry. If the squash seems especially wet, salt it lightly and let it sit for 10 minutes, then blot again. This extra step helps when you want more browning and less steam.
Ingredients:
- 2 medium zucchini, sliced into 1/4-inch half-moons
- 2 medium yellow squash, sliced into 1/4-inch half-moons
- 1 1/2 tablespoons olive oil
- 1 tablespoon butter, optional for flavor
- 1/2 teaspoon kosher salt, plus more to taste
- 1/4 teaspoon black pepper
- 1 small garlic clove, minced, optional
Have the seasoning ready before the pan heats. The cooking moves quickly once the squash goes in.
Sauté the Vegetables Until Browned
Set a large skillet, preferably stainless steel or cast iron, over medium-high heat. A 12-inch skillet is ideal for this amount. If the pan is smaller, cook the squash in two batches so the slices can stay in a single layer.
Add the olive oil. If using butter, add it after the oil starts to shimmer. Let the fat heat for 30 to 45 seconds. The surface should look glossy, but not smoking heavily.
Add the squash in a mostly even layer. Do not crowd the pan. Let the vegetables sit undisturbed for 2 minutes so the first side can brown. Stir, then cook 2 to 3 minutes more, stirring only occasionally. The goal is gentle browning on several sides, not constant movement.
Season with salt and pepper during cooking. If using garlic, add it in the last 30 seconds so it does not burn. The vegetables are done when they are tender but still have a little bite, with golden edges and no wet liquid pooling in the pan.
For a more caramelized finish, cook 1 extra minute, but watch closely. Overcooking turns the slices soft and watery. If the pan starts to fill with liquid, raise the heat slightly and let it cook off before stirring again.
Doneness cues:
- The slices look glossy but not soggy.
- Edges are lightly browned.
- A fork slides in with slight resistance.
- The pan is mostly dry at the end.
Season, Serve, Store, and Reheat
Taste the squash at the end and adjust salt and pepper. Serve it right away for the best texture. This skillet vegetable works as a side with chicken, fish, beans, rice, pasta, or roasted potatoes.
Simple seasoning variations can change the flavor without changing the method:
- Garlic and herb: Add 1/2 teaspoon dried Italian seasoning or 1 tablespoon chopped fresh parsley at the end.
- Lemon pepper: Finish with lemon zest and a squeeze of lemon juice after cooking.
- Parmesan: Sprinkle 2 tablespoons finely grated Parmesan over the hot squash just before serving.
- Red pepper: Add a pinch of crushed red pepper flakes with the salt and pepper.
- Simple summer style: Finish with fresh basil or dill and a tiny drizzle of olive oil.
To store leftovers, cool them quickly and refrigerate in an airtight container for up to 3 days. The squash will soften a bit in storage, which is normal. For the best texture, reheat in a skillet over medium heat for 2 to 4 minutes, just until warmed through. A microwave works too, but use short bursts so the vegetables do not turn mushy.
If you are reheating from cold, add a few drops of oil to the pan. Stir once or twice only. That keeps the pieces intact and helps revive some of the original browning.









Comments are closed, but trackbacks and pingbacks are open.